How to Organize Home Office Shelves by Reach and Use
Sort a crowded bookcase one shelf at a time, then give each shelf a job based on how easily you reach it: weekly items in the middle, light boxes up high, heavy things low.
At a glance
What you need
- Tape measure
- Notepad and pen
- Bookends
- Open boxes or magazine files
- Labels and a marker
- Damp cloth
- Recycling bag and an other-rooms box
A bookcase in a workspace tends to collect whatever has no other home: a stack of manuals, a box of spare pens, three binders lying flat, a mug of loose clips. Nothing is exactly lost, but finding one item means moving four others first.
Home office shelves work best when each shelf has a job, and the job is decided by how easily you can reach that shelf and how often you need what sits on it. The method below takes one shelf at a time, so the room stays usable even if you stop halfway.
What to gather before you start
- A tape measure, a notepad and a pen
- A cleared table or a patch of floor for sorting
- Two to four bookends
- Open boxes or magazine files you already own (buy more only after measuring)
- Labels and a marker
- A damp cloth for the empty shelves
- A bag for recycling and a box for things that belong in other rooms
Roughly two hours covers an average bookcase. A full wall of shelving is easier as two sessions.
Empty and sort one shelf at a time
- Take everything off the top shelf and put it on your sorting surface.
- Wipe the shelf while it is empty.
- Group like with like: books with books, binders with binders, paper with paper, supplies with supplies, equipment with equipment.
- Pull out anything that does not belong in the office and drop it in the other-rooms box.
- Recycle what is plainly finished with: old catalogs, empty packaging, duplicate manuals for things you no longer own.
- Leave the groups on the sorting surface and move down to the next shelf.
By the bottom shelf you will have a handful of groups and a clear view of how much of each you own. If two shelves’ worth turns out to be half-used notebooks, sort those separately with the guide to organizing notebooks, planners and notepads before they go back.
Assign each shelf by reach
Stand in front of the unit and notice which shelves you can reach without stretching or bending. Those are the valuable ones. Give them to the things you handle most.
| Shelf position | How often you reach it | What belongs there |
|---|---|---|
| Top, above your head | A few times a year | Light boxes of rarely used items, such as spare folders or seasonal papers |
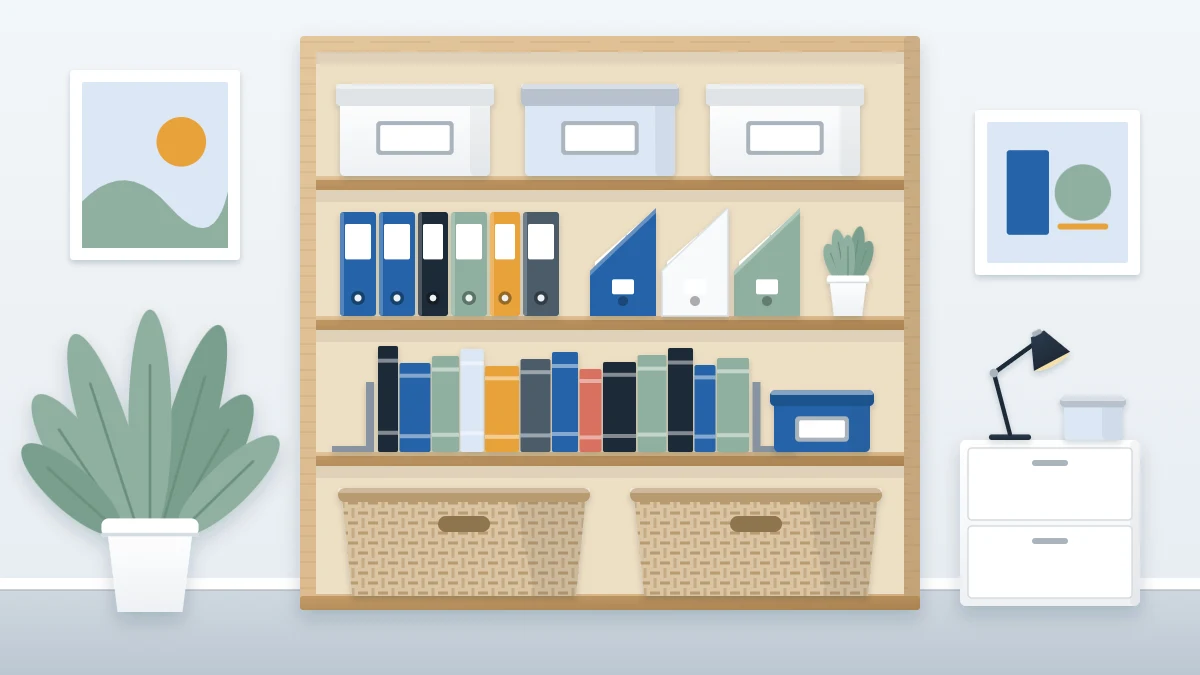
| Eye level to hip level | Weekly or daily | Current binders, reference books, magazine files of active paper, the supply box you refill from |
| Below hip level | Monthly | Books you consult now and then, archive binders, the paper cutter |
| Bottom | Rarely, or for bulky items | Heavy things: reams of paper, large reference books, full file boxes, equipment |
Two rules decide most cases. Heavy items go on low shelves, where they are easier to lift and keep the unit steadier. Light items you seldom need go high, in boxes you can lift down with one hand.
Write the plan on the notepad before you put anything back: one line per shelf, naming the group that will live there.
Stand books and binders upright
Anything with a spine goes upright with the spine facing out. Flat stacks hide every title except the top one, and pulling out the bottom book topples the rest.
- Put a bookend at the open end of each row so it stays vertical when you remove one item.
- Line spines up with the front edge of the shelf. The row reads more easily and small things cannot gather in front of it.
- Stand thin, floppy items such as booklets and folders inside a magazine file so they do not slump.
Contain the loose items
Loose objects are what make a shelf look and work like a junk drawer. Everything small or oddly shaped goes into a container, one category per container.
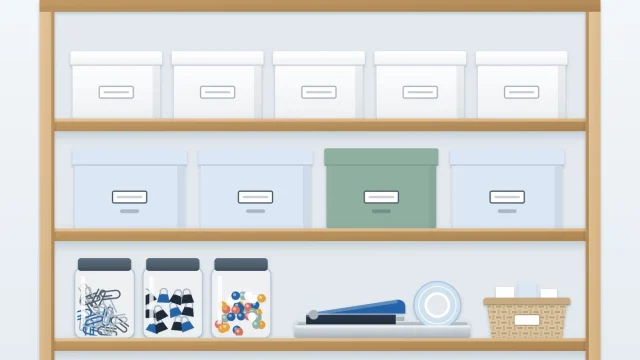
- Open boxes or baskets for things you grab often: envelopes, a stapler and its refills, tape.
- Lidded boxes for things you want kept free of dust and rarely open: spare cables, keepsake papers, backup supplies.
- Magazine files for anything flat: catalogs, manuals, pads of paper, thin folders.
Measure the inside of the shelf before buying anything: width, depth and the clear height between shelves. Write the three numbers down and take them with you. A box that sits a little short of the shelf height leaves room for your fingers to lift it out.
For which supplies deserve a box of their own and which can share, see these office supply storage ideas.
Tip
Leave a hand’s width of empty space on every shelf. That gap is where the next new binder or box goes, so one extra item does not force you to rearrange a whole row.
Label the box fronts
Once a box is closed or sitting above eye level, you cannot see inside it. A label on the front, in the same spot on every box, saves lifting each one down to check. Use a plain noun for what is inside: “Envelopes”, “Printer ink”, “Spare cables”.
If your shelves are fixed to the wall
Wall shelves and floating shelves follow the same reach logic, with a few extra cautions because the wall is carrying the load.
Safety note
Follow the manufacturer’s instructions and stated limits for any shelf, bracket or bookcase, and use fixings suited to the type of wall you have. If you rent, check your lease or ask your landlord before drilling. A freestanding bookcase or a shelf unit that stands on the desk is a sound alternative. Secure a tall freestanding unit the way its maker describes, and keep the heaviest things on the lowest shelf.
Keep wall shelves above a desk for light, frequently used things such as a few current folders, a small box of supplies and a pen cup. If you would like hooks and cups on that wall instead of a shelf, a pegboard office organizer uses the same space differently.
Adapting the method to a different setup
- A single shelf above the desk: treat it as eye-level space. Daily and weekly items only, and nothing stacked.
- A deep cabinet with doors: use boxes that fill the depth so nothing hides behind a front row, and label the fronts.
- Cube shelving: give each cube one category. A cube holds either one box or one upright row, not both.
A week later, look for anything lying flat or sitting in front of a row. Those strays show which group needs a larger container or a more reachable shelf.
Frequently asked questions
Should I buy matching boxes before I organize the shelves?
Sort first. Until everything is grouped you do not know how many boxes you need or what size. Once the groups are laid out, measure the width, depth and clear height of each shelf, then choose containers to fit those numbers. Boxes you already own often cover most of it.
How full should a shelf be?
Aim to leave about a hand's width of open space on each shelf. A row packed edge to edge has nowhere for a new binder or box to go, so the next arrival ends up lying on top of the row. If a shelf is full, thin the group or move part of it lower.
What should go on the top shelf of a tall bookcase?
Light things you reach for only a few times a year, kept in boxes you can lift down with one hand, with a label on the front. Keep heavy items such as paper reams and large books on the bottom shelf, where they are easier to lift and help keep the unit steady.