Office Supply Storage Ideas: 10 Ways to Store the Small Stuff
Ten ways to store pens, clips, tape, envelopes and refills, from one supply home for the household to a refill box for backups, with a table matching each supply to its container.
Small supplies are hard to keep track of because they are small. A box of staples fits anywhere, so it ends up anywhere, and the tape is in the kitchen while the envelopes are in a bedroom drawer. The office supply storage ideas below all aim at the same result: one known place for each kind of item, sized to what you own.
The first idea is the foundation and the last is the safety net. The eight in between are containers and furniture; choose the ones that fit your space.
Start with a working set and a stock
Before picking containers, split your supplies into two layers. The working set is what you use this week: one roll of tape, a few pens, one pad of sticky notes, a small handful of clips. It lives at the desk. The stock is everything else: unopened packs, refills, spares. It lives somewhere else, together.
Nearly all supply clutter comes from mixing the two, with full multipacks crammed into a desk drawer. The desk side is covered in the guide on how to organize desk drawers. The ideas here are mostly about the stock.
Ideas 1 to 3: one home, sorted by category
1. One supply home for the whole household
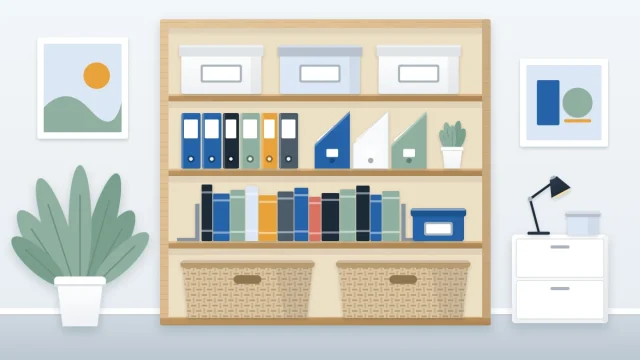
Suits: any home where supplies are spread over several rooms. Pick one cabinet, closet shelf or bookcase section and declare it the place for all stationery, for everyone. Then walk the house with a box and bring every pen, pad, envelope and roll of tape back to it. One home means one place to look and one place to check before buying more.
2. Clear lidded boxes by category
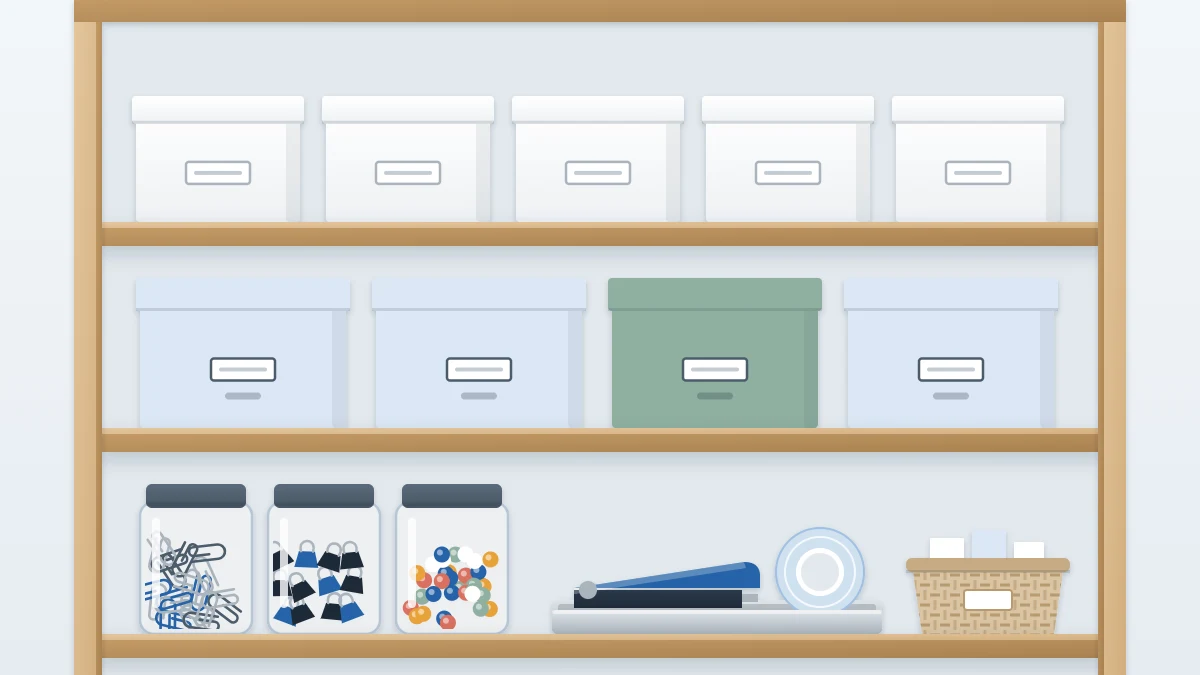
Suits: stock that is used monthly or less. Give each category a box: tape and adhesives, fasteners, writing tools, mailing supplies, labels and stickers. Clear sides let you see the contents and the level without lifting a lid. Choose boxes that stack and that fit your shelf depth; measure the shelf first.
3. Small jars or tins for clips and pins
Suits: the tiniest items, which vanish in a large box. A glass jar, a tin or a small lidded pot each for paper clips, binder clips, pushpins and rubber bands. Keep one small pot of each at the desk and the refill packs in the fasteners box.
Ideas 4 to 6: furniture that holds supplies
4. A drawer unit with shallow drawers
Suits: flat supplies and anyone who prefers closed storage. Shallow drawers keep everything in one visible layer: one drawer for paper pads, one for envelopes, one for adhesives, one for cables and small electronics. Because each drawer holds little, nothing gets buried.
5. A rolling cart
Suits: small rooms and offices used by more than one person. A cart with two or three tiers holds the working set on top and stock below, heavier items on the lowest tier. It rolls to whoever needs it and back into a corner or closet afterward.
6. A shelf of labeled boxes
Suits: a larger stock, or a bookcase with a shelf to spare. A row of matching boxes with a label on each front reads like a set of drawers. Put the boxes you open most at hip-to-eye height and the rarely opened ones higher, with anything heavy on the lowest shelf. The guide to organizing home office shelves explains shelf heights in more detail.
Tip
Matching boxes look tidy and hide everything, which makes labels essential. Use one plain noun per box in the same position on each; the guide to building a home office labeling system covers the method.
Ideas 7 to 9: containers for awkward items
7. An over-door pocket organizer
Suits: rooms with no spare shelf or floor space. A fabric or clear organizer with rows of pockets hangs over the top of a closet or office door and needs no fixings. Give each pocket one category of light item: tape rolls, glue sticks, sticky notes, scissors, chargers. Follow the maker’s guidance on how much it should carry, and check that the door still closes freely.
8. A divided tray for stamps and small items
Suits: things that are small, flat and easily lost: stamps, return-address labels, spare keys, memory cards, erasers, lead refills. A shallow tray with several compartments, kept in a drawer, holds each in its own cell.
9. A file box for envelopes and labels
Suits: flat mailing supplies that bend or slump in an ordinary box. Stand envelopes, label sheets, card stock and padded mailers upright in a file box or magazine file, grouped by size with a divider between each group. Stored on edge, they stay flat and you can pull out one size without disturbing the rest.
Idea 10: a refill box for backups
Suits: every setup. Keep one box, clearly labeled, for the things that will run out: ink cartridges or toner, staples, pen refills, spare sticky notes, tape, batteries. When something at the desk runs out, you go to one box. When you take the last of anything from that box, add it to a shopping list kept inside the lid.
Store ink, toner and batteries in their original packaging and as their makers direct, away from heat and direct sun.
Which idea suits which supply
| Supply | Working set at the desk | Stock |
|---|---|---|
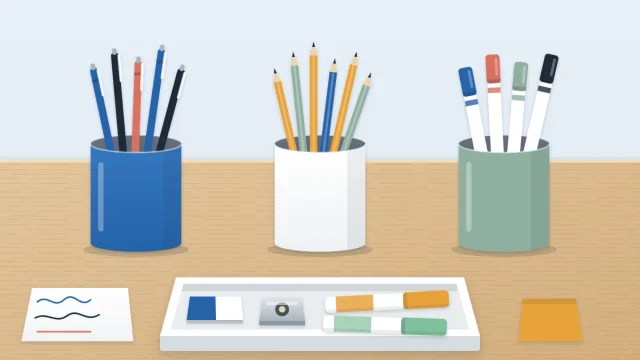
| Pens, pencils, markers | One cup or drawer tray | Writing tools box (2) |
| Clips, pins, rubber bands | One small pot each (3) | Fasteners box (2) |
| Tape, glue, sticky notes | One of each in the top drawer | Adhesives box or door pockets (2, 7) |
| Envelopes, labels, stamps | A few in the middle drawer | File box and divided tray (8, 9) |
| Ink, staples, refills | None | Refill box (10) |
Writing tools usually need the most thinning before they are stored. The guide on how to organize pens and pencils walks through testing and sorting them.
How to set it up
Whichever ideas you choose, the order is the same.
- Collect everything from every room onto one table.
- Sort by category and discard what is dried out, broken or empty.
- Pull out the working set and take it to the desk.
- Measure the stock category by category, then measure the shelf, closet or cart it will go into.
- Choose containers to fit both, starting with boxes and jars you already own.
- Label each container and put it in place, most used at the easiest height.
Frequently asked questions
Where should office supplies be stored at home?
In one place for the whole household, such as a cabinet, a closet shelf or a section of a bookcase. Keep only a small working set at the desk and return everything else to that supply home, sorted by category in labeled containers, so there is a single place to look and to restock from.
What is the best way to store paper clips and pushpins?
In small lidded jars, tins or pots, one kind per container, so they do not mix or spill. Keep one small pot of each at the desk and the refill packs in a fasteners box with your stock. Clear containers let you see when a type is running low.
How do I store envelopes so they stay flat?
Stand them on edge in a file box or magazine file, grouped by size with a divider between groups. Stored upright and fairly snug, they do not bend, and you can pull out one size without lifting a stack. Keep them somewhere dry so the gummed flaps do not stick.