Home Office Labels: How to Build a Simple Labeling System
A small project that gives every box, folder and drawer a matching label: list what needs one, choose one method, one wording style and one position, then make them all at once.
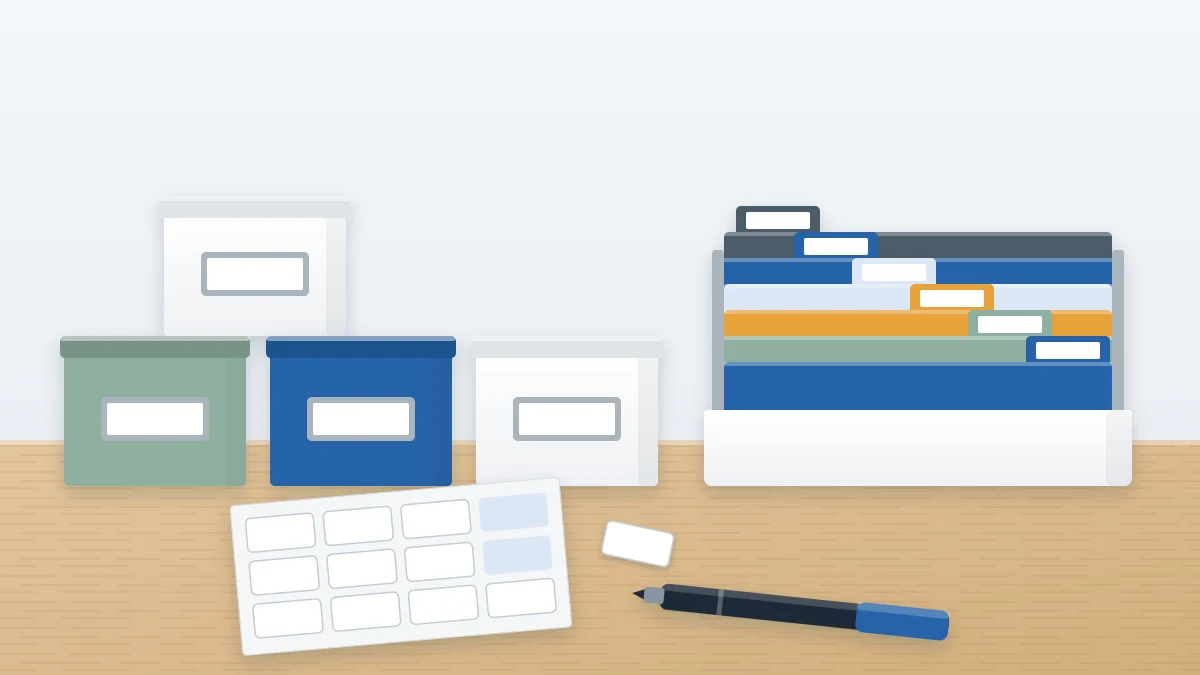
At a glance
What you need
- Notepad and pen
- Adhesive labels, a label maker, card tags or removable tape
- Fine and medium permanent markers
- Dry cloth
- Scissors
- Envelope or small box for spare labels
Six identical white boxes on a shelf look tidy until you need the printer ink. Then you lift down four of them before you find it. The same goes for a row of plain folders or a drawer unit with five matching fronts.
Home office labels fix that, provided they follow one consistent system. A mix of sticky notes, marker scrawl on lids and the occasional printed tag is nearly as hard to read as no labels at all. This small project sets a single method, a single wording style and a single position, then makes every label in one sitting.
Step 1: Gather supplies and list everything that needs a label
You will need:
- A notepad and pen for the label list
- Your chosen label supplies (see Step 2)
- A fine and a medium permanent marker, if writing by hand
- A dry cloth to wipe surfaces before sticking
- Scissors
- An envelope or small box for spare labels
Then walk around the room with the notepad and write one line for each thing that is closed, opaque or identical to its neighbor. Typical entries:
- Folders: one line per folder or hanging-file tab
- Boxes: storage boxes, magazine files, lidded bins
- Drawer fronts: desk drawers and drawer units
- Shelf edges: where a category lives, especially in shared rooms
- Binders: spines
- Cables and chargers: both ends
Beside each line, write the words the label will carry. Doing this on paper first lets you spot overlaps and vague names before anything is stuck down. If you cannot name a container in two or three words, its contents probably need sorting first.
Count the lines. That number, plus about a fifth extra for mistakes and later additions, is how many labels you need.
Step 2: Choose one method
Any of these four works. What matters is using the same one across the room, so the eye learns where and how to read.
| Method | Strengths | Limits |
|---|---|---|
| Handwritten adhesive labels | Low cost, quick, no equipment | Depends on neat, consistent handwriting |
| Label maker | Uniform, easy to read from a distance | Needs the device and its tape refills |
| Card tags in holders | Card slides out and can be rewritten; neat on boxes and drawers | Holders have to be bought and attached |
| Removable tape and marker | Peels off cleanly; suits contents that change often | Looks less finished and can lift over time |
If the contents of a container change every few months, favor a method that is easy to redo: card tags or removable tape. For long-term categories, adhesive labels or a label maker hold up better.
A second method is reasonable for cables only, since a flat label does not suit a round cord. Tags, tape flags and color bands for cords are covered in how to label cables and chargers.
Step 3: Pick one wording style
Consistent wording is what turns a set of labels into a system. Three rules cover it:
- Plain nouns. Name what is inside, not what you do with it: “Envelopes”, not “Mailing stuff”.
- Plural. “Notebooks”, “Cables”, “Manuals”. Use the singular only where there is truly one item.
- No “misc”. A label reading “Miscellaneous”, “Other” or “Stuff” tells nobody anything and invites everything. Name the two or three things actually in the box, or split it.
Add a few style choices and keep to them: capital first letter or all capitals, the same pen thickness, and the same order when a label has two parts, such as category first and detail second (“Printer: ink”, “Printer: paper”).
Tip
Use the words your household already says. If everyone calls it “the charger box”, the label should read “Chargers”, not “Power adapters”.
For folder tabs, the wording should mirror the categories and subfolders of your home filing system, so the label list and the file index match word for word.
Step 4: Fix one position for every type of container
When labels sit in the same place on every container, you can scan a shelf in one sweep instead of hunting across each front.
- Boxes: centered on the short front face, or top left, at the same height on each. Add a second label on the lid if boxes are stored below eye level and seen from above.
- Drawers: top center of the front, or just above the handle.
- Folders: on the tab, text starting at the left edge.
- Binders: on the spine, the same distance from the top on each.
- Magazine files: on the narrow front edge that faces out from the shelf.
- Shelf edges: directly under the item or group they name.
Step 5: Add color only if it does a job
Color is optional. It earns its place when it answers a question faster than words can:
- A color per category: for example one color for household paper, another for work.
- A color per person: in a shared office, each person’s folders, box and tray carry their color.
Choose one of these schemes, not both, and limit it to a handful of colors. Write the key on a card and keep it with the spare labels.
Step 6: Make all the labels in one sitting
Labels made in a single session come out uniform.
- Sit at a clear table with the list and the supplies.
- Write or print every label on the list, in order, ticking each line as you go.
- Check the batch for spelling and consistent style before anything is applied.
- Wipe each surface with the dry cloth, then apply the label in its fixed position. Press from the center outward.
- Step back and look along the shelf or drawer unit. Straighten any label that sits out of line while the adhesive still allows it.
Step 7: Store the replacements
A labeling system lasts only if the next label matches the last. Put the leftover blank labels, the marker or label-maker tape, the color key and the original list in one envelope or small box, and label that too.
Keep it with the rest of your stationery stock. If that stock has no fixed place yet, these office supply storage ideas will help you give it one. When a container’s contents change, replace its label the same day, in the same style and position.
Adapting the system
- Clear boxes: still label them. A label is quicker to read than a jumble seen through plastic.
- Fabric bins and baskets: adhesive does not hold on fabric or weave, so tie on a card tag or clip a tag to the rim.
Frequently asked questions
Do I need a label maker to label a home office?
No. Handwritten adhesive labels work well if you use one pen, one letter style and one position throughout. A label maker gives more uniform results and is easier to read from across the room, but consistency matters more than the tool you choose.
What should I write on a box that holds mixed items?
Avoid a catch-all word like miscellaneous. Name the two or three kinds of thing actually inside, for example Tape, glue, scissors. If the list would be longer than that, split the contents into two containers so each can carry a short, specific label.
Where is the best place to put a label on a storage box?
On the face you see when the box is on its shelf, in the same spot on every box, such as centered or at the top left. Label the box itself, since lids get swapped, and add a second label on the lid for boxes stored below eye level.