Portable Home Office Kit: Organizing a Workspace You Pack Away
Build a kit for working at the kitchen or dining table: one container sized to your laptop, pouches for small items, one notebook, one folder and a fixed packing order.
At a glance
What you need
- Tape measure
- Lidded box, tote or caddy
- Two or three zip pouches
- Document folder
- Soft reusable cable ties
- Label and pen
If your desk is the kitchen or dining table, the workday ends with a clear-out. The laptop goes on the sideboard, the notebook on a chair, the charger stays plugged in by the toaster, and the next morning starts with a search for all three.
A portable home office solves this by treating everything you work with as one kit. It lives in a single container, comes out in a fixed order and goes back the same way. Set up well, it takes a couple of minutes at each end of the day and leaves the table free for dinner.
What goes in the kit
List what you actually use in a normal week of work at the table. Leave out anything you reach for less than once a week, because it can stay in a cupboard. A typical kit holds:
- the laptop and its charger
- a mouse, and earphones or a headset
- one notebook
- two or three pens and a pencil
- one document folder for current papers
- a small pouch of tools: sticky notes, a few paper clips, a highlighter
- a coaster or a small cloth for wiping the table
Keep it to one of each. A portable kit has no room for a pen collection or three half-used notepads. The spare stock stays wherever the household keeps its supplies.
What to gather for the build
- A tape measure
- One main container (see the next section)
- Two or three zip pouches in different colors or sizes
- A document folder or slim expanding file
- Soft reusable cable ties
- A label and a pen
Step 1: Choose a container sized to the laptop and a folder
Measure your closed laptop and your document folder. The container has to take both lying flat or standing on edge, with room beside them for the pouches. Then measure the shelf or cabinet where the kit will be stored, because the container must fit there too.
| Container | Suits | Watch for |
|---|---|---|
| Lidded box | Storing on an open shelf; stacks neatly and keeps dust out | Needs two hands and a lid to put somewhere |
| Open tote with handles | Carrying between rooms in one hand | Contents are visible; items can tip unless stood upright |
| Divided caddy with a center handle | Working out of the container without unpacking | Usually too small for the laptop, which then needs its own sleeve |
| Rolling cart | A larger kit with a printer or files | Needs a parking place on the floor |
Pick the smallest container that holds the list. Spare room fills with things that do not belong in it.
Step 2: Sort small items into pouches
Loose small things sink to the bottom of any box. Group them into pouches, one purpose each:
- Writing pouch: pens, pencil, highlighter, sticky notes, paper clips.
- Power pouch: the laptop charger, the phone cable and any adapter you need daily.
- Audio pouch: earphones or headset and their cable.
Different colors or clear fronts let you grab the right one without opening all three. Coil each cable in a loose loop about the size of your hand and hold it with a soft tie. Do not wind a cord tightly around the charger block or bend it sharply at the plug. Spare and rarely used cables do not travel with the kit; give them a labeled home using the method for storing spare cables, chargers and adapters.
Step 3: One notebook and one folder
Paper is the part of a table office most likely to spread. Limit it to two items. The notebook takes everything handwritten. The document folder takes every loose sheet currently in use: printouts, forms, letters awaiting a reply.
When a paper is finished with, it leaves the folder for the household filing or the recycling, with anything that shows personal details shredded first. If the folder gets too thick to close flat, sort it before adding more.
Step 4: Give the kit a parking place
The kit needs one fixed spot within a few steps of the table. Good candidates are a shelf in a sideboard, a kitchen cabinet you can spare, the bottom of a bookcase or a cart that rolls into a corner. A place far from the table means the kit ends up left on a chair.
Label the shelf edge or the container so everyone in the home knows what it is and leaves it alone. If the corner you have in mind is very tight, the ideas for small home office organization include several ways to find a slot.
Tip
Charge the laptop on the table or another hard, uncovered surface while you work, using the charger its maker supplies or recommends. Pack the charger away with the kit once it is unplugged and cool, so the kit’s cupboard never holds anything that is switched on.
Step 5: Pack in a set order
A fixed order means each thing has a known position and a gap shows at once if something is missing.
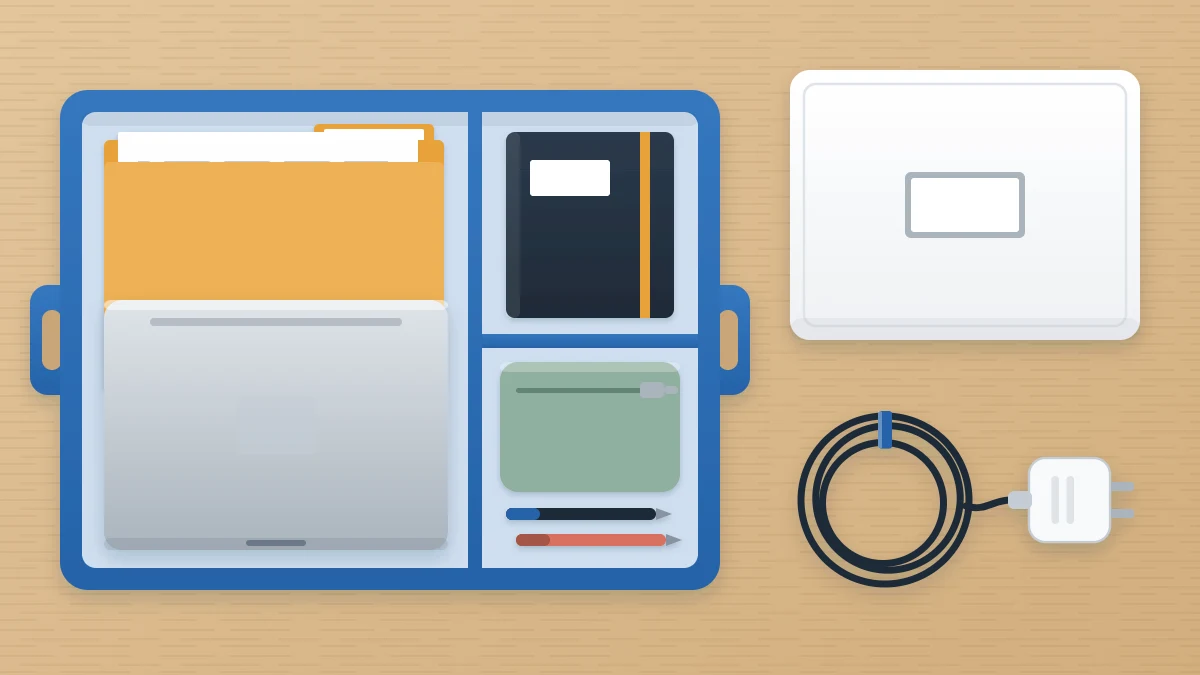
- Laptop first, flat on the bottom or upright against one side.
- Document folder next to it or on top.
- Notebook on the folder.
- Power pouch and audio pouch side by side.
- Writing pouch last, on top, because it comes out first.
- Mouse and coaster in the remaining corner.
Unpacking runs in reverse: writing pouch, notebook, folder, laptop, then power.
The pack-down checklist
Write these six lines on a card and keep it inside the lid or in the folder until the routine is automatic.
- Loose papers into the folder
- Pens and small tools into the writing pouch
- Charger unplugged, coiled loosely, into the power pouch
- Everything into the container in the set order
- Mug and plate to the kitchen, table wiped
- Kit back on its shelf
Adapting the kit
- A second screen or keyboard: these rarely fit a box. Give them their own shelf beside the kit and carry them as a second trip.
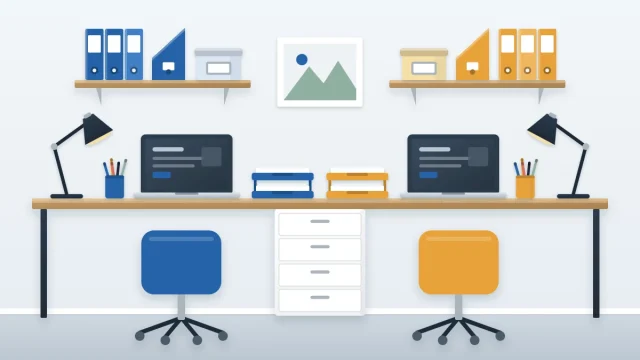
- More than one person at the table: one kit each, in different colors, parked side by side. The guide to shared home office organization covers dividing supplies between two people.
- Working in several rooms: choose the tote with handles and add a firm tray inside, so the notebook has a flat surface wherever you sit.
- Paper-heavy work: swap the folder for a slim expanding file with a few labeled sections, and keep the limit of one.
Frequently asked questions
What size container do I need for a portable office kit?
Measure your closed laptop and your document folder, then choose the smallest container that takes both with space beside them for two or three pouches. Measure the shelf or cabinet where the kit will be stored as well, since the container has to fit there too.
Where should I keep the kit when I am not working?
Within a few steps of the table you work at: a sideboard shelf, a spare kitchen cabinet, the bottom shelf of a bookcase or a cart in a corner. If the parking place is far away, the kit tends to get left on a chair instead of put back.
How do I stop papers piling up when I work at the dining table?
Limit paper to one notebook and one document folder. Every loose sheet in use goes into the folder at pack-down. Finished papers leave it for the household files or the recycling, with anything showing personal details shredded first. Sort the folder when it no longer closes flat.