How to Organize a Desk Without Drawers
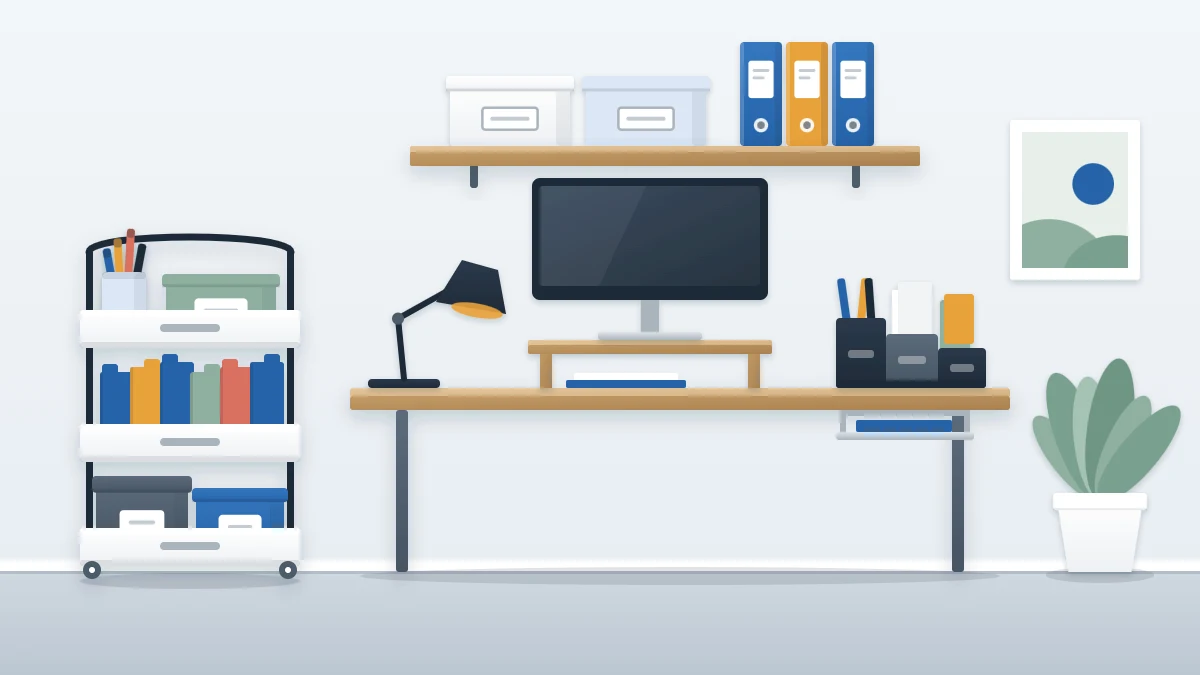
Replace missing drawers with storage beside, above and under a plain table: a cart or drawer unit, a compact desktop organizer, an under-desk tray and lidded boxes within one step.
At a glance
What you need
- Tape measure
- Empty sorting box
- Rolling cart or small drawer unit
- Desktop organizer and one paper tray
- Lidded boxes for a nearby shelf
- Zip pouch for small tools
A plain table makes a good-looking desk and a poor storage unit. With no drawer to drop things into, pens, chargers and paper stay on the surface, and the working area shrinks a little every day.
The fix for a desk without drawers is to build the missing storage around it: beside the desk, just above the surface and underneath it. This guide shows how to decide what stays on top, then how to set up each of those three positions in about an hour.
What to gather
- A tape measure
- An empty box to hold everything while you sort
- Whatever storage you already own: a small cart, a drawer unit, lidded boxes, a tray, a zip pouch
- Sticky notes and a pen for marking trial positions
Measure the desk width and depth, the height from floor to the underside of the top, and the floor space on each side of your chair. Those four numbers decide which of the options below will fit.
Step by step: sort the surface by reach
- Clear the desk into the box. Leave only the computer and lamp.
- Pull out the daily items. Anything you use on most working days goes in one group: a few pens, the current notebook, a charger, perhaps headphones.
- Pull out the weekly items. Stapler, scissors, tape, envelopes, spare notepads, the folder you are working from.
- Set the rest aside. Refills, backups and things you use rarely do not belong at the desk at all. They go to a shelf or closet elsewhere.
- Assign positions. Daily items get a holder on the surface or directly under it. Weekly items go within one step: beside the desk or on a shelf you can reach by leaning. Mark each planned spot with a sticky note before moving anything in.
The rule to hold onto is one step. If you have to stand up and walk for something you use every week, it will end up living on the desk again.
Storage beside the desk
This is where most of the missing drawer space comes from.
A rolling cart
A cart with two or three tiers stands in for a full set of drawers. Put daily-adjacent tools on the top tier in open containers, paper and folders in the middle, and heavier things such as reams of paper on the bottom so the cart stays steady. Roll it beside your chair while you work and back against the wall afterward.
A small drawer unit
A freestanding unit that slides under or beside the table gives you real drawers without changing the desk. Check the measurement from the floor to the underside of the desk before choosing one, and leave room for your knees.
Storage on and just above the surface
Keep this layer small. Its job is to hold the daily group and nothing more.
- A desktop organizer with a few compartments. One unit for pens, sticky notes and a phone is better than several separate cups. Place it at the back corner on your non-writing side.
- A riser or desktop shelf. Lifting the screen frees the space under it for a keyboard or notebook. A freestanding shelf across the back of the desk adds a second level without touching the wall.
- One tray for paper. Without a drawer, paper has to have a fixed landing spot or it spreads.
The roundup of desk organization ideas has more options for this layer, but resist adding many: every holder on a small table takes working space.
Storage under the desk
The underside of the top is unused space on almost every table.
- A clip-on or stick-on under-desk tray. These shallow trays slide or hang beneath the top and act as a pencil drawer. Use one only as its maker directs: check that it suits your desk’s thickness and material, and stay within the stated limit. Keep it for light, flat things such as pens, a notepad and a cable.
- A clamp-on hook. One hook at the side holds a bag or headphones off the floor.
- A pouch for small tools. A zip pouch holding scissors, tape, clips and a small stapler can hang from the hook or sit on the cart. It keeps the loose tools together, and it moves with you if you work at another table. The same idea, taken further, is the basis of a portable home office kit.
Storage on a nearby shelf or wall
Weekly items that do not fit on the cart go on the nearest shelf in lidded boxes, one category per box, labeled on the front. Boxes turn an open shelf into something close to drawers: you pull one out, take what you need and slide it back. The guide to organizing home office shelves explains which shelf height suits which box.
If there is wall above the desk, a board with hooks and cups can hold scissors, tape and headphones in view; see how to plan a pegboard office organizer before buying one.
Safety note
For any wall shelf, board or hook, follow the manufacturer’s instructions and stated limits and use fixings suited to your wall type. If you rent, check the lease or ask the landlord before drilling, or use a freestanding shelf unit or a leaning board instead. Store heavy items low, never above the desk.
What stays on the surface
Once the three positions are set up, hold the desktop to a short list:
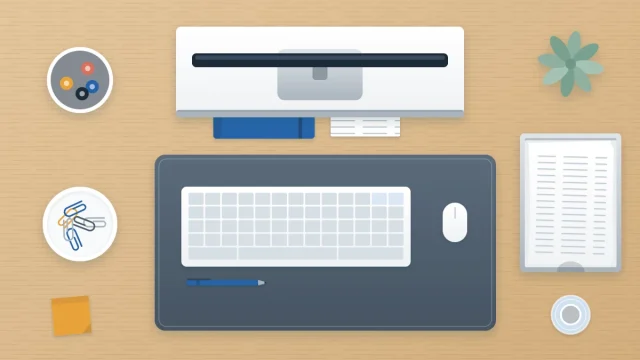
- Computer, keyboard and mouse
- Lamp
- One organizer with the daily pens and notes
- One paper tray
- The notebook in use
Anything else that appears on the desk is a sign that its home is too far away or too awkward to open. Move that home closer instead of accepting the item on the surface.
Adapting to your space
No floor space beside the desk: rely on the under-desk tray and one shelf above, and keep the weekly items in a single lidded box that sits on the floor under the back of the table, clear of your feet.
A glass or very thin desktop: skip clamp-on and stick-on fittings unless their instructions say they suit that material. Use a cart and a desktop organizer instead.
A desk in a living room or bedroom: choose closed storage. A drawer unit and lidded boxes hide the contents, and a tray lets you lift the whole daily set off the table in one move when the day ends.
A dining table used as a desk: nothing can stay. Keep everything in a caddy or box that travels between a shelf and the table.
Frequently asked questions
What can I use instead of desk drawers?
A rolling cart or a small freestanding drawer unit beside the desk replaces most drawer space. Add a compact desktop organizer for daily pens and notes, a shallow under-desk tray for flat items, and lidded boxes on a nearby shelf for things you use weekly.
Are stick-on under-desk drawers a good idea?
They can work for light, flat items such as pens, a notepad and a cable. Use one only as its maker directs: check it suits your desktop's material and thickness and keep within the stated limit. On glass or very thin tops, a cart or desktop organizer is usually the better choice.
How do I keep a table desk from looking cluttered?
Limit the surface to the computer, a lamp, one organizer, one paper tray and the notebook in use. Store weekly items within one step in closed containers such as a drawer unit or lidded boxes, and move refills and rarely used things to a shelf or closet elsewhere.